
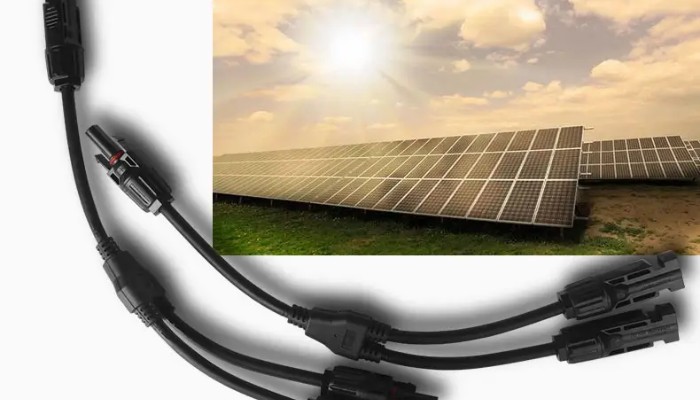
MC4 connectors are commonly used in photovoltaic (PV) systems, primarily to connect solar panels and inverters. MC4 connectors are efficient, durable, and waterproof, making them a standard component in solar systems.
This article will provide a detailed guide on how to connect MC4 connectors, including the necessary tools, steps, and precautions. Before starting the connection process, ensure you have the following tools and materials ready:
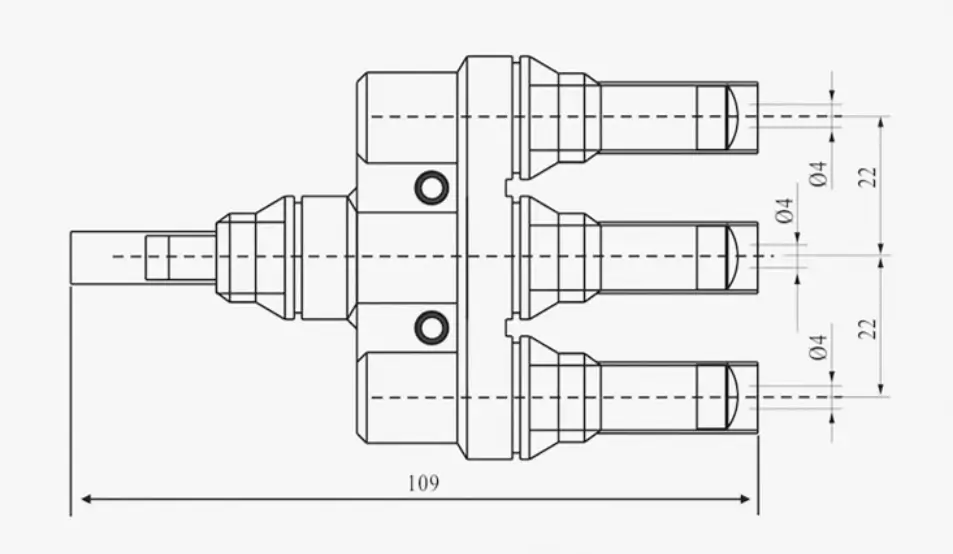
- MC4 Connectors: Includes both male and female connectors.
- Cables: Typically, PV cables are used, with 6mm² or 4mm² cables recommended.
- Wire Stripper: Used to strip the insulation off the cable.
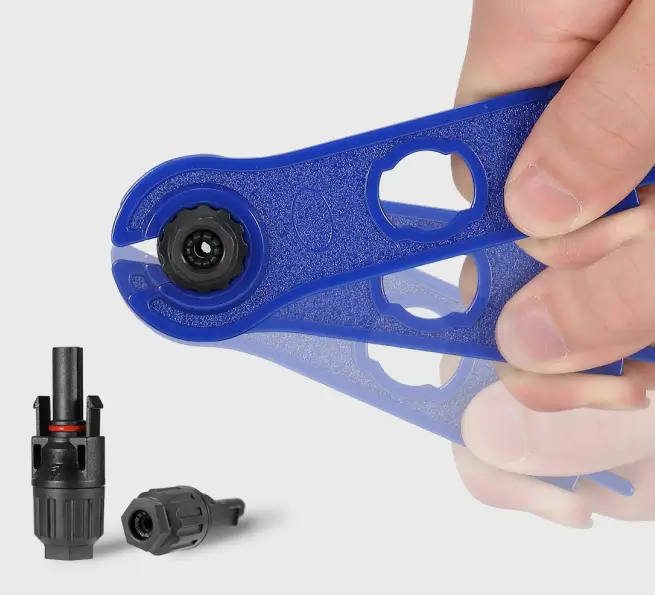
- Crimping Tool: A specialized MC4 crimping tool is used to crimp the connectors.
- Cable Cutter: Used to cut the cable.
- Multimeter: Used to test if the connection is correct.
Once you have all these tools and materials, you can also read what is an MC4 connector first to fully understand its definition. Then you can start connecting the MC4 connector. Please follow the detailed steps below to complete the process.
How to Connect MC4 Connectors: Detailed Steps
Prepare the Cable
First, cut the cable to the required length using the cable cutter, ensuring a clean cut. Then, use the wire stripper to remove approximately 6-10 mm of insulation from the end of the cable, exposing the copper wire inside.
Assemble the MC4 Connectors
MC4 connectors consist of male and female parts. Ensure you choose the correct connector for each cable end.
For the male connector, insert the stripped copper wire into the metal terminal of the male connector, making sure the wire is fully inserted and not frayed. Use the MC4 crimping tool to securely crimp the metal terminal and copper wire together, ensuring a tight and stable connection.
For the female connector, follow the same steps: insert the stripped copper wire into the metal terminal of the female connector and crimp it using the crimping tool.
Assemble the Connectors
Insert the crimped male and female terminals into their respective MC4 connector housings. Ensure the terminals are fully inserted into the housings until you hear a “click,” indicating the terminals are locked in place.
Check the Connection
Use a multimeter to test the connection. Set the multimeter to resistance mode and check the resistance value between the male and female connectors to ensure there are no short circuits or open circuits.
Connect to the PV System
Connect the assembled MC4 connectors to the solar panels and inverter. Ensure all connections are tight and fully inserted to prevent any loose connections or poor contact.
By following these steps, you can independently connect MC4 connectors. However, for safety during the connection process, please take note of the following precautions.
Notes
- When connecting the MC4 connector, make sure that the cable and connector are not powered to prevent electric shock and short circuits.
- It is recommended to use MC4 special crimping pliers to ensure the crimping quality.
- The MC4 connector has a waterproof design, but when used outdoors, it is recommended to use waterproof tape or a waterproof sleeve for added protection.
- Check the status of the connector and cable regularly to prevent aging and damage.
Common Issues and Solutions
Insecure Crimping
If the connection between the copper wire and the metal terminal is not secure during crimping, it might be an issue with the crimping tool.
Check if the crimping tool is suitable for MC4 connectors, ensure that the copper wire is fully inserted into the terminal, and re-crimp with the appropriate pressure to achieve tight contact between the terminal and the copper wire, preventing poor contact.
Unstable Connection
An unstable connection is usually due to the connector not being fully inserted. Check that the connector is fully inserted and listen for a “click” to confirm it is locked, inspect the locking mechanism for proper function, and clear any foreign objects present during insertion to ensure a secure connection.
Insufficient Waterproofing
When used outdoors, if the connector’s waterproofing is insufficient, first check for any signs of aging or damage on the sealing ring of the connector. Ensure the connector is completely and tightly connected, and if necessary, use waterproof tape or a waterproof sleeve to enhance protection.
Maintenance of MC4 connectors
In order to ensure the long-term stable operation of the photovoltaic system, the maintenance of MC4 connectors is very important. Here are some maintenance suggestions:
- Check the connector every 6 months to 1 year to ensure it is not loose, aged, or damaged.
- Wipe the surface of the connector with a clean dry cloth to prevent dust and dirt from accumulating and affecting contact quality.
- If the connector is found to have obvious signs of damage or aging, it is recommended to replace it with a new one in time.
- Check the effectiveness of waterproof measures regularly to ensure that the inside of the connector is dry.
- Regularly ask professional technicians to conduct comprehensive inspections and tests to ensure that the electrical performance of all connectors is normal.
Summary
Connecting MC4 connectors is a critical step in the installation of photovoltaic systems. Through the detailed introduction in this article, we believe that you have mastered the basic steps and precautions for connecting MC4 connectors.
Properly connecting and maintaining MC4 connectors not only enhances the efficiency of the photovoltaic system but also extends its lifespan. We hope this article assists you in installing your photovoltaic system.
What Can MOREDAY Do for You?
MOREDAY provides high-quality, durable MC4 connectors with an IP67 protection rating, ensuring waterproof and dustproof performance for long-term stable operation. We also offer professional technical support and installation guidance.
Additionally, our company provides customized solutions, comprehensive after-sales service, and technical training to ensure the stable and efficient operation of our customers’ photovoltaic systems. Should any issues arise, MOREDAY’s technical team will assist in resolving them, ensuring our customers have peace of mind. Come and contact us to get an accurate quote!
