

When dealing with renewable energy systems like solar power, the electrical connections can seem overwhelming, especially for those who are new to the field. One of the most important components in these systems is the DC Miniature Circuit Breaker (MCB). While the installation process may appear complex at first glance, it’s relatively straightforward if you break it down into manageable steps. In this article, we’ll guide you through how to connect a DC MCB and help you avoid common mistakes along the way.
Understanding how to connect a DC MCB is essential for protecting your system from faults like overloads or short circuits. This guide will take you through each step, from preparation to testing.
Before you begin connecting the DC MCB, it’s crucial to understand the role it plays in your electrical system. A DC MCB protects your circuits by interrupting the current flow in the event of an overload or short circuit. This ensures that the system does not get damaged and that any electrical faults do not cause hazards like fires. Now that we understand why a DC MCB is important, let’s dive into the steps for connecting it properly.
Why is it Important to Connect a DC MCB Correctly?
Connecting a DC MCB correctly is vital for your safety and the long-term efficiency of your system. Here are a few reasons why getting it right matters:
-
Protection Against Overload: The DC MCB will trip and disconnect the circuit if there is an overload, preventing damage to sensitive equipment like inverters, batteries, and controllers.
-
Protection Against Short Circuits: A short circuit can lead to dangerous sparks or even fires. The MCB ensures that the current is cut off immediately in case of a short circuit, reducing risks.
-
Efficient System Operation: A correctly connected MCB ensures the smooth functioning of your electrical system. It helps maintain the overall stability of the setup and avoids disruptions.
-
Compliance with Electrical Standards: Depending on your region, connecting a DC MCB might be a legal requirement to ensure the electrical system complies with safety standards.
Now, let’s go step by step to ensure you connect your DC MCB correctly.
Step-by-Step Guide to Connect a DC MCB
Connecting a DC MCB involves careful planning and understanding of the electrical system. Follow these steps for a smooth installation process:
Step 1: Safety First – Turn Off Power
The first and most important step is to ensure the power is turned off. This is crucial to avoid electric shock or short circuit1s. Whether you are working with a solar panel system, a battery storage unit, or other DC-powered equipment, always de-energize the system before you start any installation work.
- If your system is connected to the grid, make sure to disconnect from the grid power supply as well.
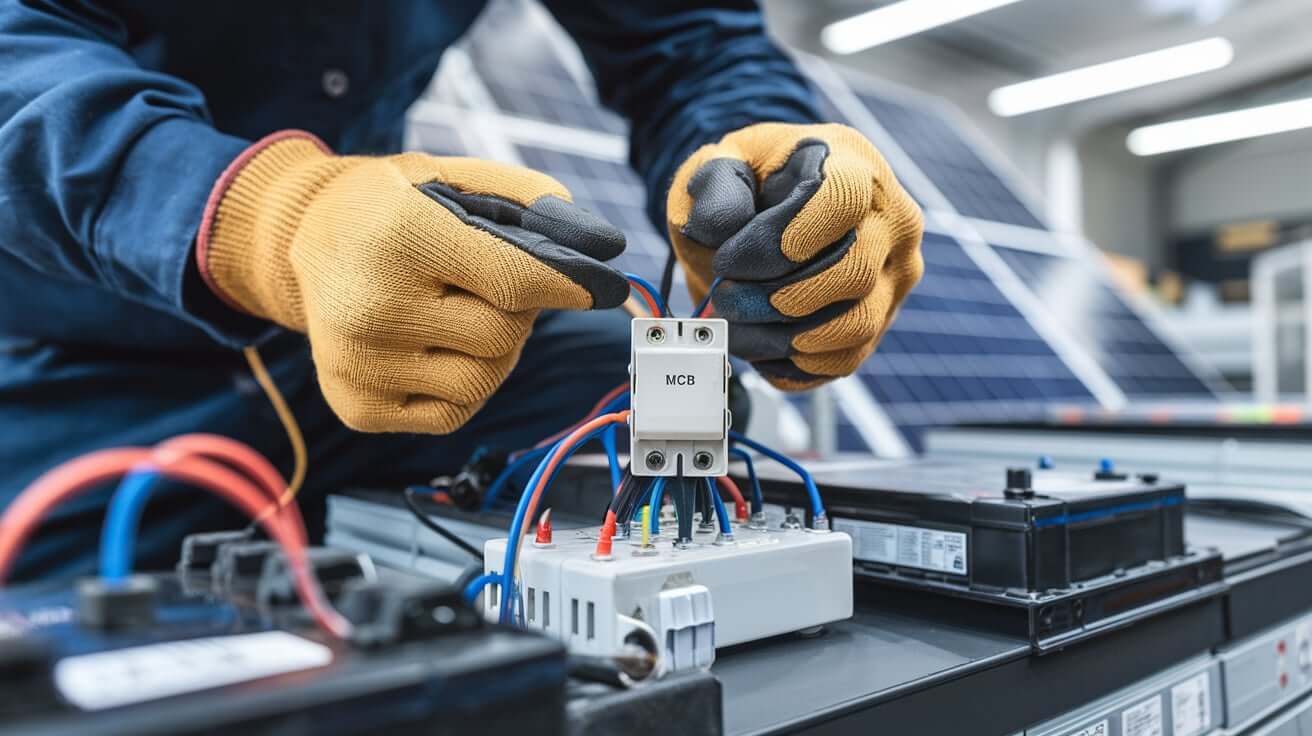
- Use proper safety gear, like insulated gloves, to protect yourself from any potential electrical hazards.
Step 2: Identify the MCB Terminals
The next step is to identify the terminals on the DC MCB. An MCB typically has two main terminals:
- Input terminal (Line): This is where the incoming DC power connects. The power from your solar panel, battery, or DC source will flow into this terminal.
- Output terminal (Load): This is where the current flows to your equipment, such as an inverter, charge controller, or any other DC-powered load.
By understanding these two connections, you can easily plan the rest of the wiring process.
Step 3: Connect the Positive DC Wire to the Input Terminal
Now that you have identified the terminals, the first connection you’ll make is the positive wire from your DC power source (such as the solar panel or battery) to the input terminal of the MCB.
- The positive DC wire carries the electrical current to the MCB. Ensure that the wire is properly stripped at the end to make a solid connection to the terminal.
- Tighten the terminal screws securely to ensure the wire is held firmly in place.
Tip: Always double-check that the wire is the correct size and rating for the current your system will be carrying. A wire that is too small for the current can overheat and cause damage to the system.
Step 4: Connect the Positive DC Wire from the Load to the Output Terminal
The next step is to connect the positive wire from the load (such as the inverter, controller, or other equipment) to the output terminal of the MCB. This connection ensures that power is delivered safely to your devices once the circuit is energized.
- Just like with the input terminal, make sure the wire is stripped and securely connected to the output terminal.
- Ensure that the wires are properly tightened to avoid any loose connections.
Step 5: Secure All Connections
At this stage, make sure all your connections are secure. Loose wires or improper connections can lead to electrical arcing, which could damage the system and create fire hazards.
- Use wire nuts or terminal blocks as needed to secure wires.
- After tightening the screws, give each wire a gentle pull to make sure they are properly held in place.
Step 6: Test the MCB After Installation
Once the MCB is wired in, you can test the system to ensure everything works as expected.
- Reconnect the power and turn on the system.
- You should check if the MCB trips under overload or short-circuit conditions. This can be done by simulating a fault (such as a short circuit) or overloading the circuit (e.g., drawing more power than the system is designed for). The MCB should trip and disconnect the circuit to prevent damage.
Step 7: Regular Maintenance and Monitoring
After the MCB is connected and tested, it’s important to keep an eye on it regularly. Perform routine checks to make sure the system is functioning properly.
- Check for loose connections or signs of wear.
- Ensure that the MCB is not tripped unnecessarily, as this may indicate an underlying problem with the system that needs to be addressed.
Diagram for DC MCB Connections
Here is a simple diagram to visualize how the DC MCB is connected:
| Component | Connection Description |
|---|---|
| Solar Panel | Positive wire to the input terminal of the MCB |
| DC MCB | Connect positive wire from the solar panel to the input terminal |
| Inverter | Positive wire to the output terminal of the MCB |
| Battery | Positive wire to the output terminal of the MCB |
| MCB Protection | Automatically disconnects the circuit in case of an overload or short circuit1 |
This diagram summarizes the basic connection process.
Common Mistakes to Avoid
Even though connecting a DC MCB is a simple process, it’s easy to make mistakes if you’re not careful. Here are some of the most common mistakes people make and how to avoid them:
-
Incorrect Polarity: This is one of the most common mistakes. Always ensure that the positive wire goes to the input terminal and the output terminal is connected to the load.
-
Not Choosing the Correct MCB Rating: MCBs come in different current and voltage ratings. Using an MCB that is too small for your system will lead to frequent tripping, while one that is too large may not protect your system effectively. Always verify the specifications of the MCB and ensure it matches the requirements of your system.
-
Loose Connections: Loose wires can cause arcing, overheating, and even fires. Always tighten the screws properly and double-check your connections.
-
Ignoring Manufacturer Guidelines: Different MCB models may have specific installation instructions. Always refer to the manufacturer’s datasheet for details on wiring, ratings, and installation procedures.
Advanced Considerations for DC MCBs
While the basic steps above cover most situations, there are a few advanced considerations you might want to keep in mind, especially if you’re working on a larger or more complex DC system:
-
Environmental Factors: If your system is exposed to harsh conditions (like outdoor installations), make sure the MCB is housed in a weatherproof enclosure. This will prevent damage from dust, moisture, and extreme temperatures.
-
Overcurrent Protection for Multiple Circuits: In systems with multiple DC circuits, consider using multiple MCBs for each circuit to protect them individually. This adds an extra layer of protection and makes it easier to isolate faults.
-
AC/DC Hybrid Systems: If your system is a hybrid (i.e., both AC and DC components), ensure that the MCB is designed to handle the type of current (DC in this case). AC MCBs are not suitable for DC systems.
Conclusion
Connecting a DC MCB might initially seem daunting, but it’s a straightforward task once you break it down. By following the correct steps—understanding the terminals, ensuring proper wire connections, and performing regular tests—you can ensure your system remains safe and efficient. Always prioritize safety, double-check your work, and don’t hesitate to reach out to a professional if you’re unsure about any step of the process.
Learning about short circuits and their prevention is essential for maintaining safety in electrical systems, especially in renewable energy setups. ↩ ↩
Related Post: Is Level 2 Charger Worth It?
