
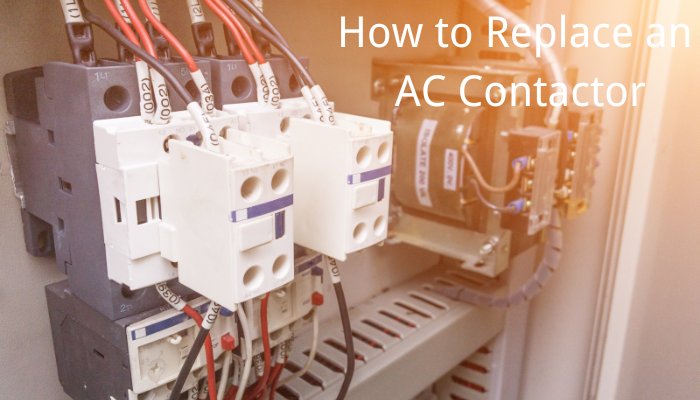
AC contactors are responsible for starting and stopping heavy-duty motors within electrical control systems. As they age and wear out, timely replacement is necessary to ensure your system operates smoothly.
This article will guide you on how to safely and effectively replace an AC contactor, ensuring your equipment continues to function without issue.
What is an AC Contactor?
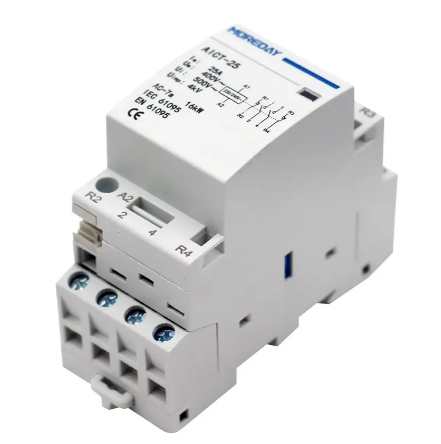
Understanding An AC contactor is an electrical switch consisting of a coil, contacts, armature, and spring mechanism designed to remotely control high current loads. It is primarily used in industrial applications to start and stop motors and other high-power equipment.
AC contactors operate on the principle of electromagnetism; when the coil is energized, it creates a magnetic field that attracts the contacts to close, thus completing the circuit. This device can withstand frequent switching actions and is suitable for AC power systems.
How Does an AC Contactor Work?
The operation of an AC contactor is based on electromagnetic induction. When the contactor’s coil is energized, it generates a magnetic field. This magnetic field attracts a metal part known as the movable contact, causing it to move upward and make contact with the fixed contact points, thereby closing the circuit and allowing current to flow to the connected load, such as a motor or other electrical devices.
When it is necessary to open the circuit, simply cutting off the current to the coil causes the magnetic field to disappear. A spring or other mechanical device then pulls the movable contact away from the fixed contact, breaking the connection and thus interrupting the circuit and stopping the flow of current.
How to Determine if an AC Contactor is Damaged?
- Inspect the Contactor’s Appearance: Check the contactor for any obvious damage such as charring, melting, or mechanical destruction.
- Listen to the Contact Action Sound: Normally, when the contactor closes, it should make a distinct “click” sound. If you hear abnormal noises, such as rattling or faint sounds, it may indicate that the contactor is malfunctioning.
- Check the Contact Condition: After powering down, inspect the contactor’s contacts to ensure they are clean and closing tightly. Erosion or excessive wear on the contacts is a common sign of trouble.
- Measure Coil Resistance: Use a multimeter to measure the resistance of the coil, ensuring it is within the manufacturer’s specified range. Resistance that is too high or too low can indicate coil damage.
- Check the Electromagnetic Force: With power on, check whether the electromagnetic force is adequate. Insufficient electromagnetic force might suggest a damaged coil or unstable power supply voltage.
- Test Circuit Functionality: Re-energize the system and test whether the contactor-controlled device starts and stops properly. Functional abnormalities may be caused by contactor faults.
How to Replace an AC Contactor
Before replacing an AC contactor, it is essential to ensure safety by shutting off the power and verifying that the current is completely disconnected.
Prepare the necessary tools and protective equipment, document the wiring connections, and then proceed with the correct steps to dismantle the old contractor and install the new one.
This process requires meticulous attention to detail to prevent any electrical accidents. You will need to prepare the following tools for replacing an AC contactor:
- Screwdriver: Used to remove fixing screws.
- Nut driver: Used for tightening or loosening nuts on electrical connections.
- Multimeter: To measure voltage and resistance in the circuit, ensuring safety.
- Protective gear: Includes safety glasses and insulated gloves to protect personal safety.
- Camera or labels: Use these to mark and record the state of the wire connections before dismantling, facilitating reinstallation.
After preparing, you can follow these steps to replace the AC contactor:
Dismantling the Old Contactor
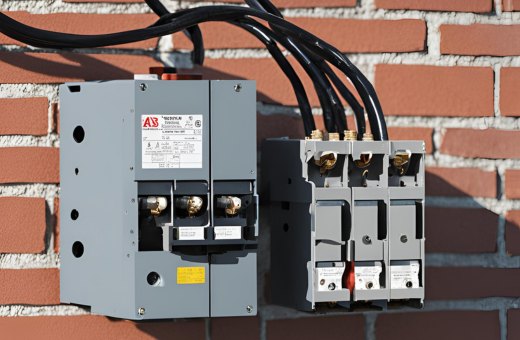
When removing the old AC contactor, first use a camera or labels to thoroughly document each wire’s connection position to ensure the correct wiring of the new contactor. Then, using a screwdriver or nut driver, carefully loosen the wires attached to the contactor.
Finally, remove the screws or clamps that secure the old contactor and take it out from its mounting position. This ensures that the old contactor is safely and orderly removed, preparing for the installation of the new one.
Installing the New Contactor
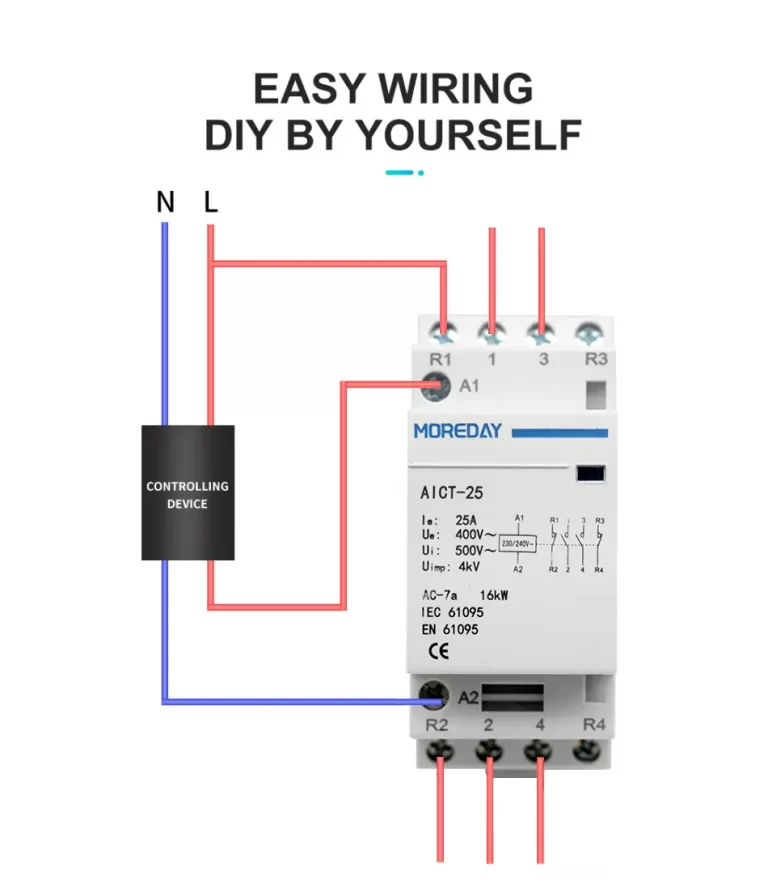
Place the new AC contactor in the position of the old one. Refer to your previously recorded wire connections to carefully connect the wires to the appropriate terminals of the new contactor.
Ensure each connection is correct to avoid future electrical faults. Secure the contactor with screws or clamps to ensure it remains stable during operation.
Testing the New Contactor
After installing the new contactor, reconnect the power and test if the new contactor functions correctly. Operate the contactor several times, observing and confirming that it correctly controls the start and stop of the connected devices. Check if the contactor and its connections generate abnormal heat, which could indicate a wiring issue.
Completing the Installation
Once you confirm the new contractor is working properly, clean the work area to prevent any safety issues caused by leftover tools or materials.
Lastly, conduct a comprehensive safety check to ensure no tools are left behind or parts are unsecured, ensuring the safety of the operation and the long-term stability of the equipment.
Following these detailed steps will help you effectively replace an AC contactor while ensuring the safety and reliability of your equipment.
How to Maintain an AC Contactor
Maintaining an AC contactor is crucial for ensuring its long-term reliable operation. Here are some basic maintenance steps and recommendations:
Regular Inspection and Cleaning
Cleaning the Contactor: Regularly clear dust and dirt from around the contactor and its immediate area. Use a soft brush or compressed air to gently clean the surface and contact points of the contactor.
Check for Wear: Inspect the contact points for signs of erosion or wear. Worn contacts can affect the performance of the contractor and may need replacing.
Observing Contactor Operation
Listen to Operation Sounds: When operating, the contactor should produce a clear “click” sound. Unusual sounds or delays may indicate internal mechanical issues or problems with the contacts.
Monitor Performance: Observe how the contactor performs when controlling devices like starting motors. Any unusual delays or failures should be noted as they could indicate potential issues.
Regular Testing
Electrical Testing: Regularly use a multimeter or professional testing equipment to check the coil resistance and insulation performance of the contractor to ensure that the electrical performance meets specifications.
Simulated Operation Tests: Periodically test the AC contactor’s operation under no load conditions to ensure its actions are accurate and reliable.
Replacing Worn Parts
Replace Contacts: If contacts are found to be severely worn or eroded, replace them promptly to maintain good contractor performance.
Check and Replace Small Components: Ensure that all mechanical parts such as springs and screws are not worn or damaged to maintain the stability of the contactor’s operation.
Maintaining Good Environmental Conditions
Control Environment: Avoid exposing the contactor to extreme temperatures, humidity, or corrosive environments. Good environmental conditions help extend the life of the contactor.
Ensure Ventilation: Ensure that the electrical cabinet or the area where the contactor is installed is well-ventilated to prevent performance degradation due to high temperatures.
Following these steps will help in the proper maintenance of AC contactors, enhancing their reliability and extending their service life.
Conclusion
In summary, regular maintenance and timely replacement can avoid expensive repairs and maintain optimal performance. Before replacing the AC contactor, make sure that all necessary safety measures have been taken, such as disconnecting the power supply and using appropriate protective equipment.
Follow the detailed step-by-step guide to carefully remove the old contactor and ensure that the new contactor is properly installed and connected. During the replacement process, it should be carefully observed to operate it to ensure that the new contactor can operate effectively and maintain the safety and efficiency of the system.
If you want to learn more about or purchase more about electrical automation equipment, please go to the official website of MOREDAY to get more knowledge and get accurate quotes for related products!
FAQ
What to do if the air conditioner won’t start
If the air conditioner doesn’t start, first check that all wire connections are secure and correct. Using previously taken photos or labels as a reference, make sure each wire is connected to the correct terminal and tighten any loose connections with a screwdriver or nut driver.
At the same time, confirm that the contractor is properly positioned and firmly installed, and check and tighten all mounting screws to ensure that the current can flow normally.
In addition, for abnormal noises, listen carefully to determine the source of the noise and check related components. Once the source of the problem is found, tighten all loose parts and replace any worn parts immediately to prevent further damage and ensure the safe operation of the equipment. These steps can help quickly diagnose and solve air conditioner startup problems.
What is the service life of an AC contactor?
The service life of an AC contactor generally depends on its working environment, frequency of use, and the quality of maintenance.
Generally, the mechanical life of an AC contactor can reach more than 1 million operations, while its electrical life may be between 100,000 and 3 million operations, which involves frequent switching actions.
Regular maintenance and correct use can significantly extend the life of the contactor, while poor working conditions or overload use may shorten its service life.
