An automatic transfer switch (ATS) is a critical component in ensuring continuous power to your home or business. By automatically switching power from the main utility line to a backup generator during an outage, ATS keeps your essential equipment and systems running.
This article will explore the features and specifications of ATS switches and guide you through the ATS installation process.
Table of Contents
ToggleWhat is an Automatic Transfer Switch

An ATS is a device that automatically transfers power from a primary power source (utility company) to a secondary power source (generator) when a primary power source failure or interruption is detected. Once mains power is restored, the ATS switches back to mains power, ensuring seamless power transfer.
How does Automatic Transfer Switch work?
An automatic transfer switch (ATS) works by continuously monitoring the power supply to the main utility line. When a power failure or significant voltage drop is detected, ATS automatically switches electrical loads to backup generators, ensuring critical systems and equipment remain powered.
Once the main power is restored and stable, the ATS seamlessly transfers the load back to the utility lines, thereby disconnecting the generator. This automated process ensures continuous power and minimizes interruptions, providing reliability and convenience for residential and commercial applications.
Now that we understand the basic working principle of the automatic transfer switch, we will introduce what props we should prepare when installing it.
Tools and Materials Required to Install Automatic Transfer Switch
To install an ATS, you will need the following tools and materials:
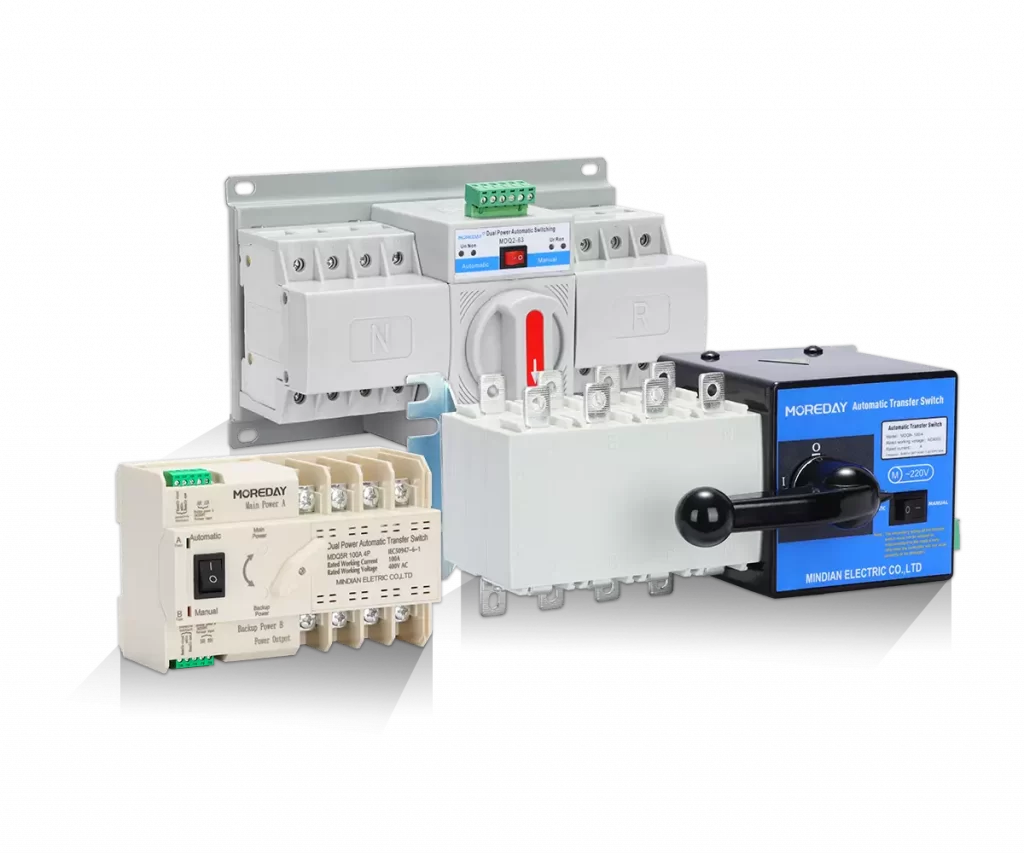
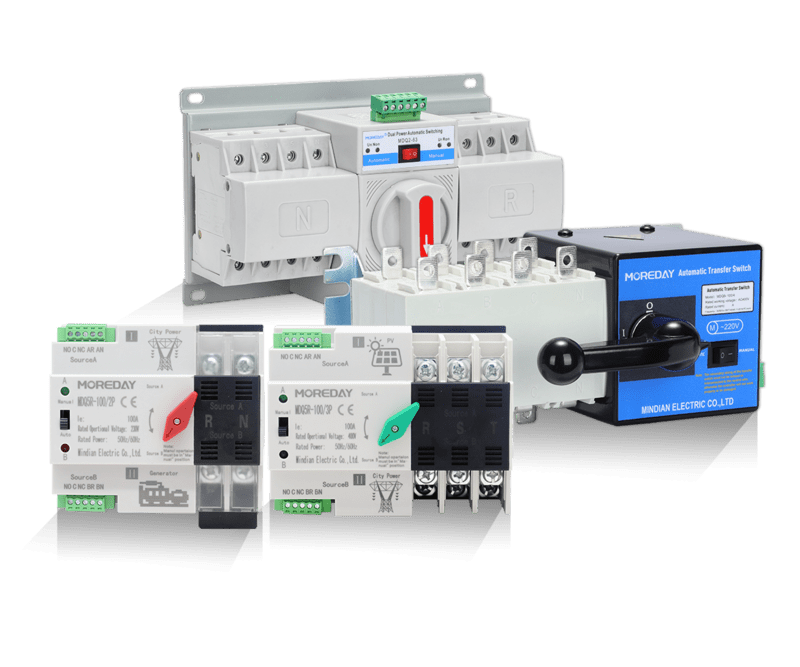
- ATS unit (such as the Moreday ATS switch)
- Generator
- Electrical cables and connectors
- Circuit breakers
- Screwdrivers
- Wire strippers
- Multimeter
- Drill and bits
- Safety gear (gloves, goggles)
If you are equipped with these tools, you can take the next step in your installation work.
How to Install an Automatic Transfer Switch: Step-by-Step Guide

1. safety First
Before starting any electrical work, ensure that you are wearing appropriate safety gear. Turn off the main power supply to avoid any risk of electric shock.
2. Choose a Suitable Location
Select a location for the ATS that is close to both the main electrical panel and the generator. The location should be dry, well-ventilated, and easily accessible for maintenance.
3. Mount the ATS
Securely mount the ATS unit to the wall using screws and a drill. Make sure the ATS is firmly in place and at a convenient height for operation and maintenance.
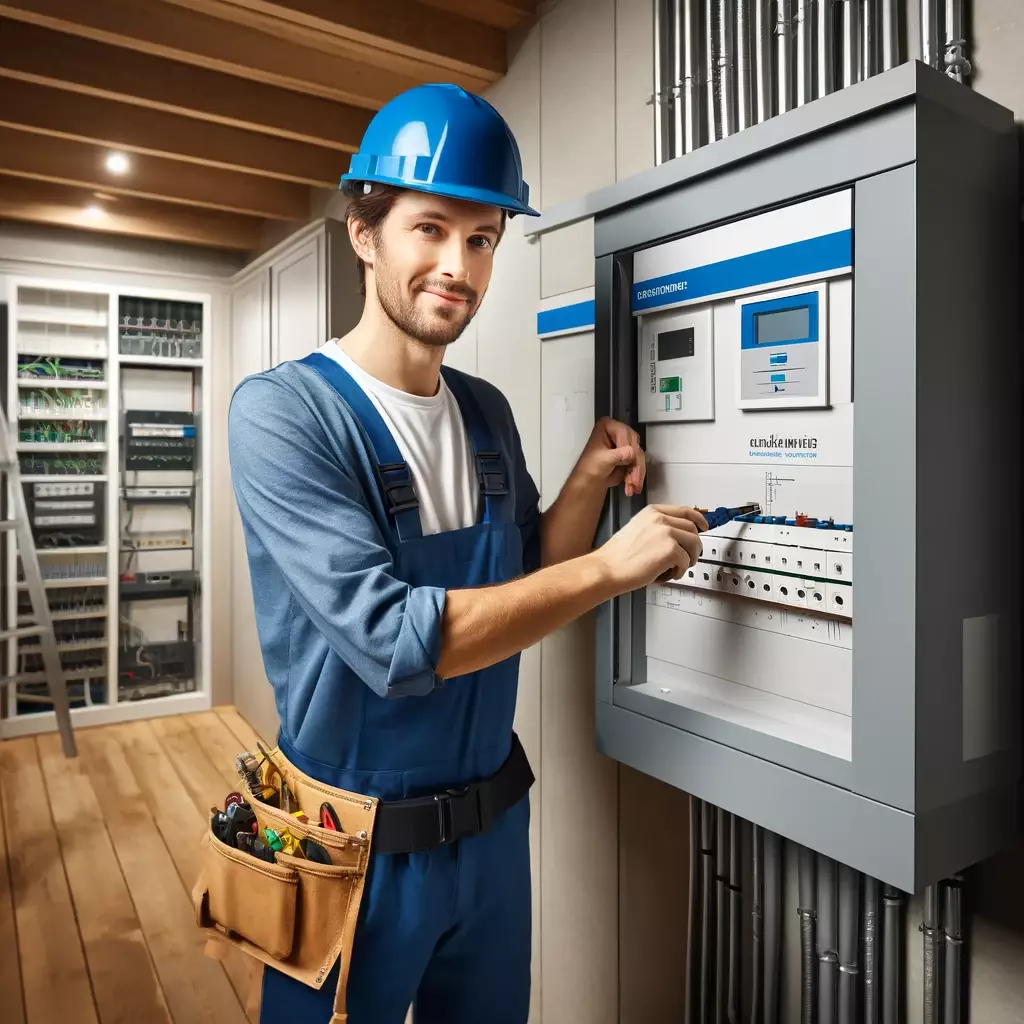
4. Connect the ATS to the Main Electrical Panel
- Turn Off Power: Ensure the main power supply is turned off.
- Remove Panel Cover: Carefully remove the cover of the main electrical panel.
- Identify Circuits: Identify the circuits that will be powered by the generator.
- Install Circuit Breakers: Install circuit breakers in the main panel for the circuits connected to the ATS.
- Run Cables: Run electrical cables from the ATS to the main panel and connect them to the corresponding circuit breakers.
Click to learn: What are RCCB circuit breakers?
5. Connect the ATS to the Generator
- Generator Placement: Place the generator in a well-ventilated area outside your home or building.
- Install Generator Breaker: Install a breaker in the generator’s electrical panel.
- Run Cables: Run electrical cables from the ATS to the generator and connect them to the generator breaker.
6. Wiring the ATS
Follow the wiring diagram provided by the manufacturer to connect the ATS to both the main electrical panel and the generator. Ensure all connections are secure and properly insulated.
7. Test the Installation
- Initial Check: Double-check all connections and ensure there are no loose wires.
- Turn On Power: Turn on the main power supply and the generator.
- Test ATS Functionality: Test the ATS by simulating a power outage. Turn off the main power and observe if the ATS switches to the generator power. Then, restore the main power and check if the ATS switches back.
Troubleshooting Common Issues
- ATS Fails to Switch: If the ATS does not switch to the generator power, check the wiring connections and ensure the generator is properly functioning.
- No Power to Essential Circuits: Ensure that the circuit breakers connected to the ATS are properly installed and not tripped.
- Frequent Switching: If the ATS frequently switches between power sources, check for any power fluctuations or unstable generator output.
Maintenance Tips
To ensure the longevity and reliability of your ATS, regular maintenance is essential. Here are some tips:
- Regular Inspections: Inspect the ATS and all connections for signs of wear or damage.
- Clean Contacts: Clean the switch contacts periodically to prevent corrosion and ensure smooth operation.
- Test the System: Conduct regular tests to ensure the ATS and generator are functioning correctly.
- Professional Service: Schedule annual maintenance with a professional electrician to perform a thorough inspection and service.
Benefits of Using Moreday ATS Switch
The Moreday ATS switch offers several advantages:
- Reliability: Ensures a seamless transfer of power with minimal interruption.
- Safety: Provides protection against electrical faults and overloads.
- Ease of Installation: Designed for easy installation with clear instructions and wiring diagrams.
- Durability: Built with high-quality materials to withstand harsh conditions.
Please contact Moreday to get a quote. We not only provide individual sales but also wholesale and bulk purchases. No matter what kind of service you need, you can consult.
Conclusion
Installing an automatic transfer switch is critical in ensuring a reliable backup power solution for your home or business. You can achieve an efficient power delivery system by following this guide and utilizing a high-quality ATS switch like Moreday’s.
Always keep safety first when installing, follow the manufacturer’s instructions, and perform regular maintenance to keep your ATS in top condition.
Related reading: How to set up a timer switch


